
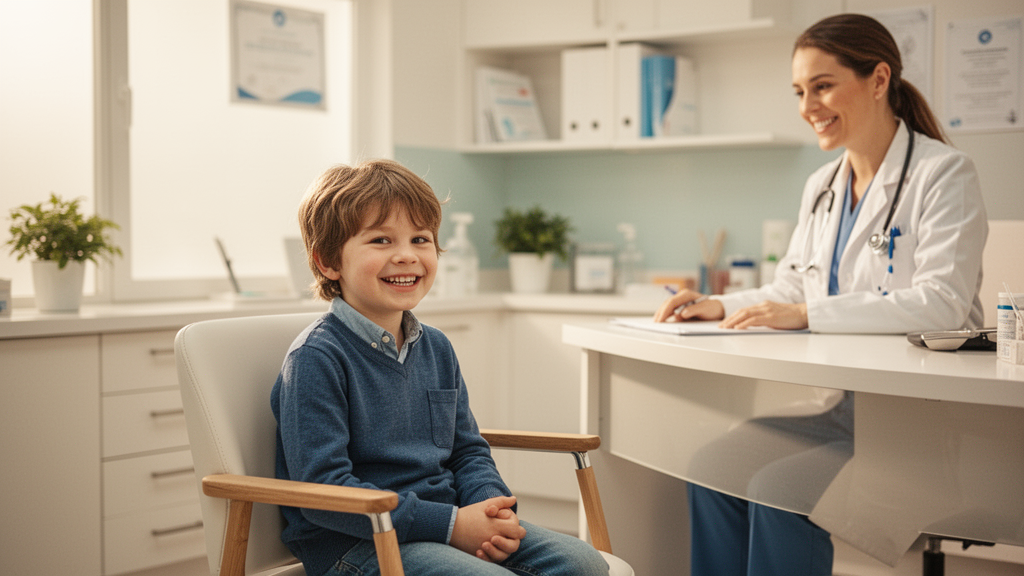
"This is more than a procedure — it's a relational experience. Every step is an opportunity to build trust, support co-regulation, and help the child feel safe and capable. The data matters. So does how the child feels when they leave."
Know Your Patient
ADHD
- Keep transitions quick; long waits lose them fast.
- Channel energy: let them hold tools, press buttons, participate.
- Short, frequent check-ins beat sustained instruction.
- Clear start/stop cues help with task switching.
ASD
- Narrate every step before doing it — no surprises.
- Consistency matters: same room, same order, same language across visits.
- Show equipment ahead of time; visual familiarity reduces uncertainty.
- Allow extra processing time; don't rush responses.
Anxiety
- Most of the work happens before the visit — thorough prep pays off.
- Let the child set the pace on first contact with equipment.
- Anticipatory language helps: "Next I'm going to…" before every action.
- Validate feelings without amplifying: "Lots of kids feel that way."

The goal is a child who leaves feeling proud.
Before the Visit
What to do in advance
- Introduce the helmet gradually — over multiple sessions if possible, so familiarity builds before the recording day.
- Ask families to practice at home with something snug on the head — a bicycle helmet or swim cap works well. Send a mask home too, and encourage them to gradually build up how long the child can tolerate it, with lots of praise as they improve.
- For younger children, role-play with a doll. Let the child play doctor: clean the doll with an alcohol wipe, spray its hair with water, explain what you're doing. Then: "Ok, now it's your turn."
- Brief parents on the reward system in advance — they may come up with their own incentives (a trip to McDonald's, a new toy) if you coach them.
- Discuss what the session will involve so the child has time to mentally prepare.
Setting the Stage
Creating a sensory-friendly space
- Dim the lights and set a comfortable room temperature.
- Limit the number of people in the room and keep noise low.
- Have a weighted blanket or stuffed animal available.
- Keep simple fidget toys or spinners on hand — they help reduce boredom and anxiety during setup.
- Place a favorite picture (Sonic, Minecraft, etc.) at a low position on the wall — a natural focal point for the Eyes Open (EO) recording that reduces eye blinks.
- Prepare a video or show they enjoy, ready to play during prep.
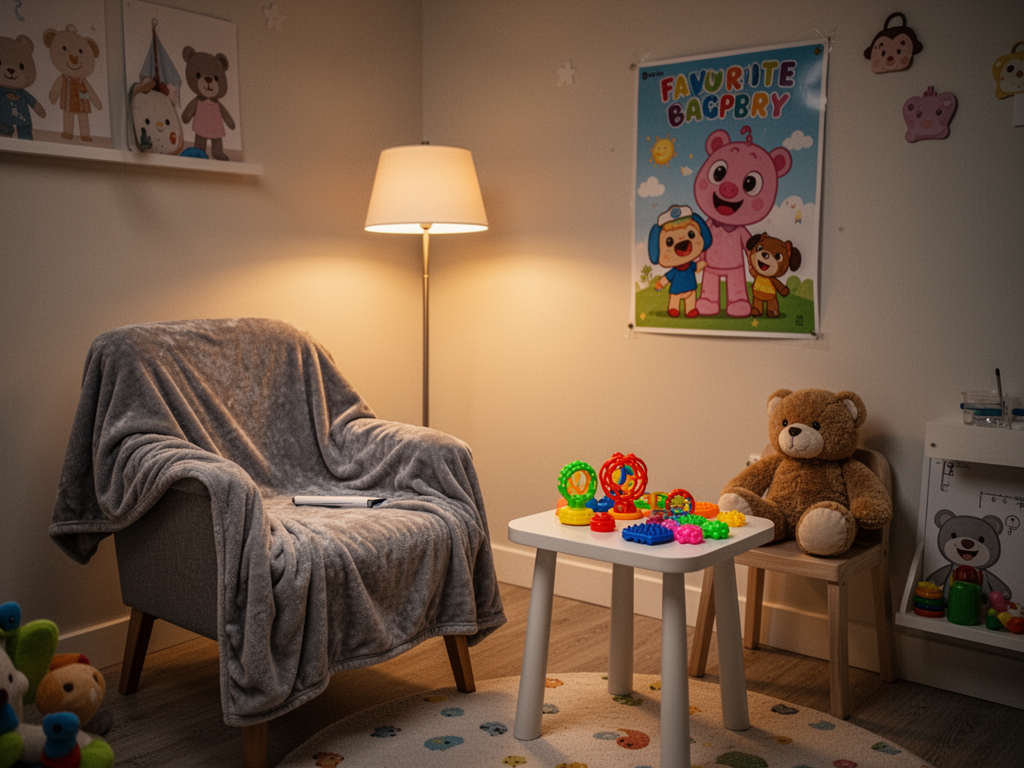
A sensory-friendly space helps neurodivergent children feel safe and ready.
Meeting the Equipment
Building trust — and a sense of control
- Put the helmet on yourself first, then a parent or caregiver — normalize it before it ever goes near their head.
- Hand the child the NuPrep and let them wipe their own forehead. Let them explore the helmet, then encourage them to put it on themselves. Feeling in control makes a big difference.
- Dampen the hair before starting to speed up the process and reduce discomfort. Do not wet the hair — this can affect EEG quality.
- Introduce a mask now if Eyes Closed (EC) will be needed — let them cover their own eyes. A fun framing: "these are magic glasses to help you pretend to be asleep to trick mom or dad."
Applying Prep Materials
NuPrep, saline, and alcohol — with care
- Always ask permission before applying anything. "Can I put a little gel here?" — it gives them control and usually makes them more cooperative.
- Explain what each material is before using it. Turn it into a conversation, not a procedure.
- Name sensations before they happen: "This spray might feel a little cold for a second — that's totally normal." When children can predict and label what they're feeling, distress drops.
- Warm the NuPrep and saline spray: place sealed bottles or syringes in a cup of warm (not hot) water for 2–5 minutes.
- Work quickly once you start — the sensory sensation can be a lot for neurodivergent kids.
- Consider playing a video during this phase. If the child will be upset when the screen is removed for the recording, fade it out gradually rather than all at once.

A parent's touch and voice can be the most reassuring tools during a recording.
The Recording
Getting clean data while keeping them comfortable
- Always start with Eyes Open (EO) — it feels safer and helps the child settle into the environment.
- 3.5 minutes per condition is the target. EC carries more data than EO and is the priority — plan accordingly if cooperation is limited.
- Head movement is your main concern — routine eye movements are much less of an issue.
- A parent or guardian can hold or gently rub the child's hand throughout. Hearing a familiar voice and feeling that touch is especially reassuring during EC.
- Reading aloud or playing a favorite song is fine. For EC, lullabies or calming classical music can help them relax.
- Help the child label their experience as you go: "That tickle just means the helmet is working." When they can name what they feel, they feel less out of control.
- Use short verbal encouragement: "You're doing amazing… 2 more minutes… 1 more minute… Ok — freeze like a statue!"
- For EC: encourage them to cover their own eyes with the mask. Let them feel in control of it.
- If you can only get one condition, decide upfront which report is most valuable and prioritize that one.
Wrapping Up
Ending on a high note
- Pair the end of the recording with the promised reward immediately — this is what makes the next session easier.
- Praise their effort specifically: "You held so still during the hardest part."
- Debrief briefly with the parent: what worked, what to try differently next time.
- The goal is a child who leaves feeling proud, not relieved it's over.
Equip Your Practice for Success
Download the guide to share with your team, or schedule a demo to see how iMediSync makes pediatric scanning easier.